Tutorial 1.1: Hello, Grasshopper
Part A: Getting Started (30 min)
Watch the introduction video tutorial. You should follow along with it; you can pause and rewatch as needed. Make sure you understand everything, as it is the foundation of Grasshopper.
Here are some key takeaways from the video:
- Tandem View: Work in split-screen mode to correlate the Grasshopper "recipe" with the Rhino "result."
- Navigation: Zoom with the scroll wheel; pan by holding the right mouse button.
- Component Search: Double-click the canvas to instantiate components by name.
- Volatile Preview: Geometry appears red in the viewport but remains unselectable and non-physical until processed.
- Parametric Control: Use number sliders to transform static values into dynamic variables.
- Tethering: Use containers to link physical Rhino geometry to the canvas logic.
- Baking: Right-click and select "Bake" to convert live previews into static, independent Rhino objects.
- Visual Management: Selected components highlight green in both Rhino and Grasshopper. Use "Preview Off" to hide and clear visual clutter.
- Selective Display: The "Selected Only" mode isolates active geometry, which is essential for auditing complex definitions.
- Node States: Disabling stops all computation and downstream data flow; hiding a preview only removes visuals while maintaining logic.
- Diagnostics: Red components indicate failures; orange signals warnings. Hover over the node balloon for specific error messages.
- Wire Control: Hold Ctrl while dragging to disconnect inputs without deleting components.
- File Sync: Save .gh and .3dm files with matching names. Always open both simultaneously to prevent "Null" reference errors.
- Interface Tabs: Switch between multiple open definitions using the document tabs in the top-right corner of the canvas.
Part B: Explore the components (30 min)
The most important thing in learning Rhino is knowing what different commands do. Similarly, when learning Grasshopper, the variety of components is the key to knowing what can be made. Most components are identical to Rhino commands.
Download the GH Components Basics.gh file to your local computer and double-click to open it. It doesn’t associate with any Rhino file because the data is internalized, so you can open it independently.
Take your time to explore how to make basic geometries in Grasshopper.
Practice basic operations: change preview modes to isolate the part you are looking at; adjust parameters; hover your mouse on the components and their inputs and outputs to check details, etc.
Notes:
-
When you don’t understand what a component can do, your first step should be to Google “grasshopper + [component name].” There are usually many tutorials available.
- When looking at GH files you downloaded, practice identifying which category each component belongs to and its location on the palettes. Press Ctrl + Alt + Left Click and hover on any component. A blue “i” icon appears; clicking the component will highlight the component tab and its location.
-
This is the full documentation of Grasshopper.
-
This YouTube video sequence covers many components. You don’t need to look at these for now; it is just for reference, but it is helpful for beginners to regularly practice the "forest of components."
Part C: Practice (3 hours)
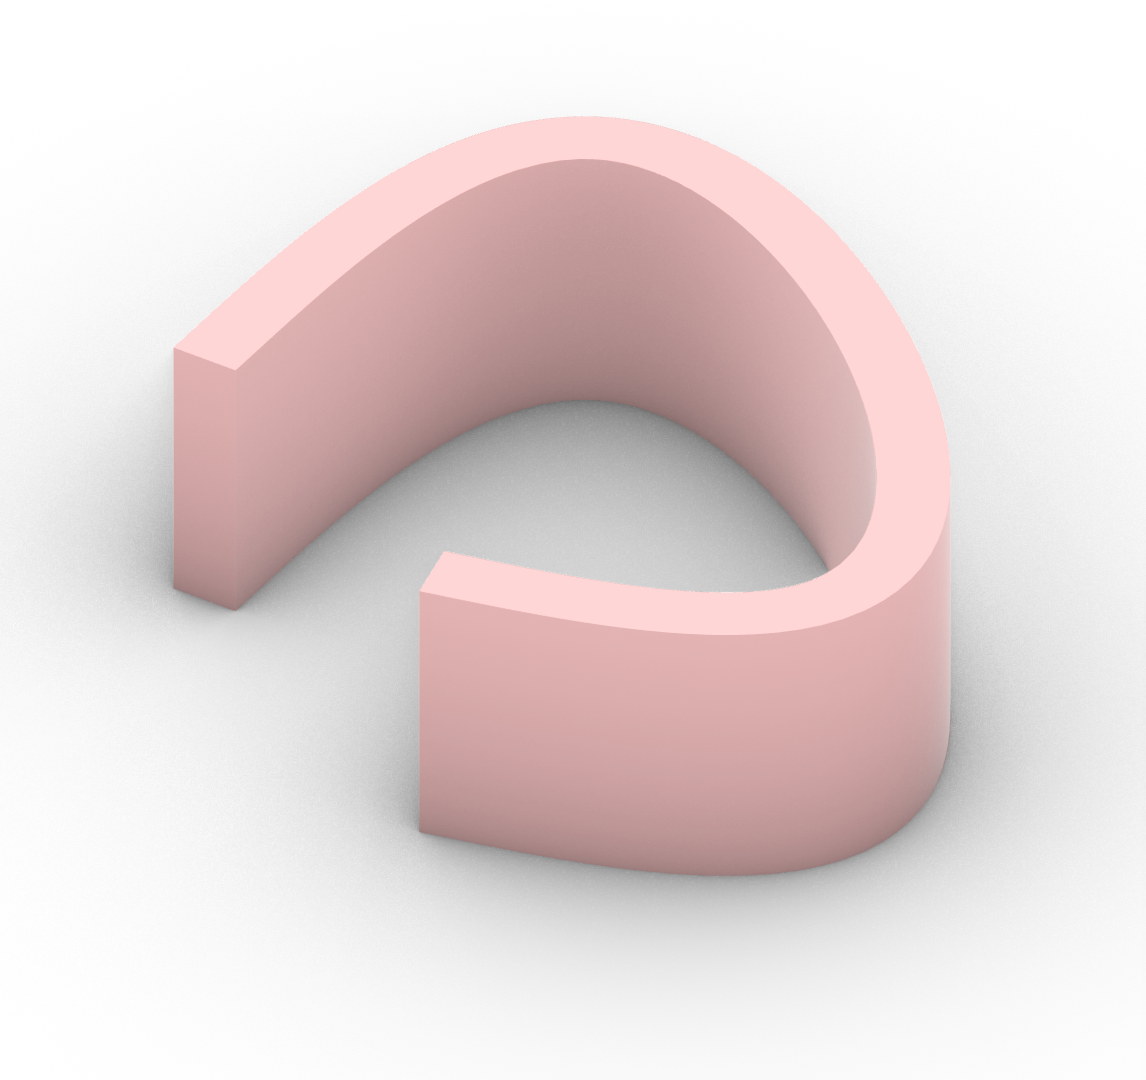
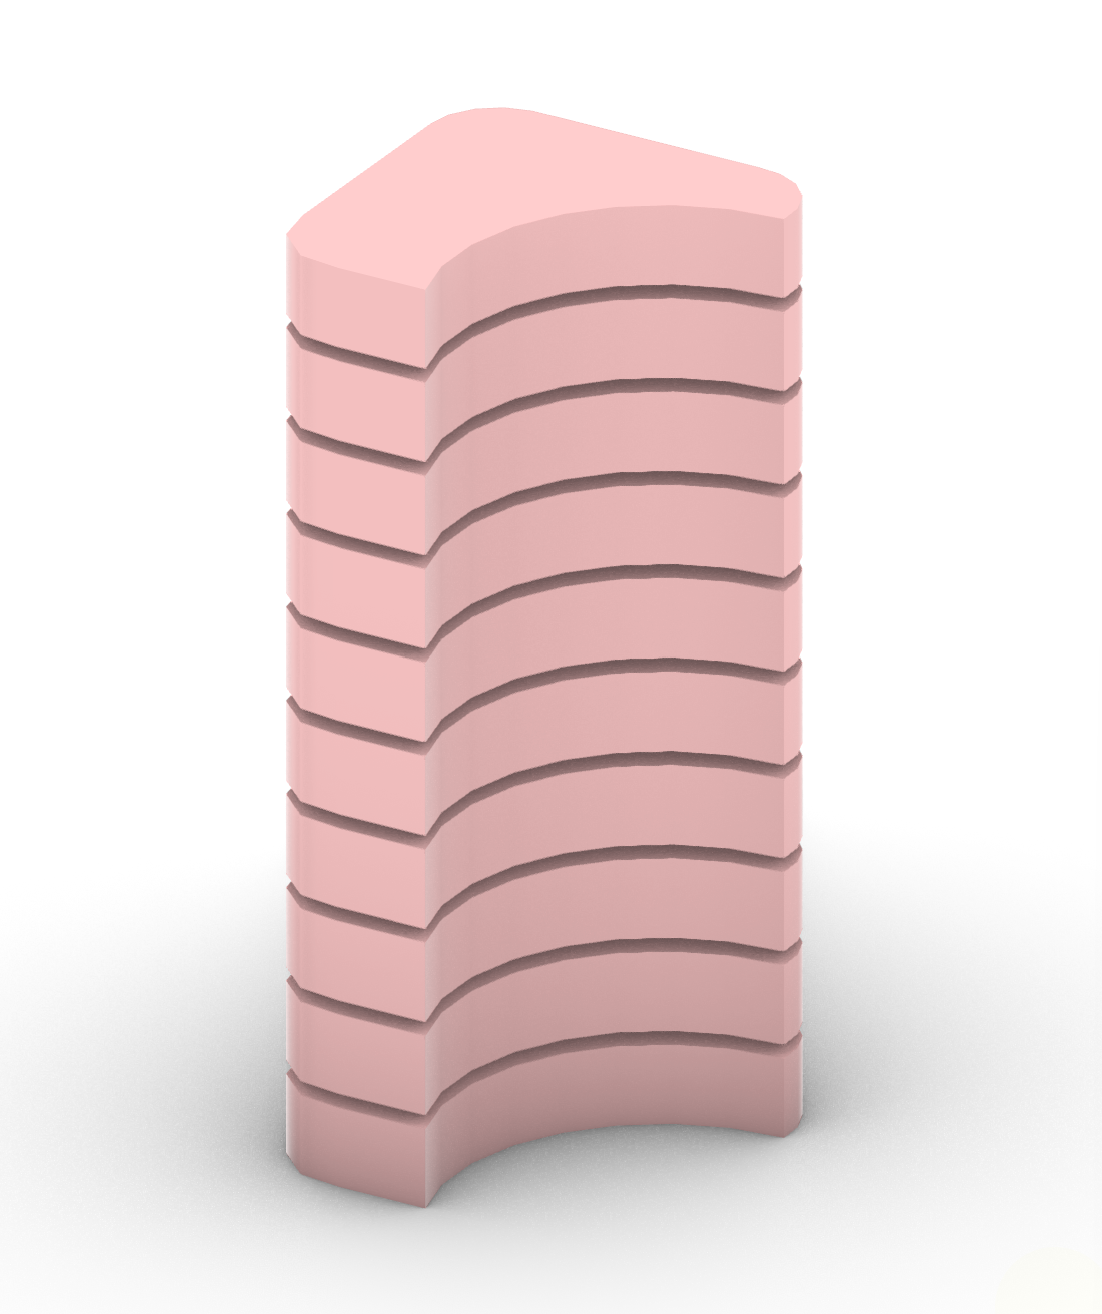
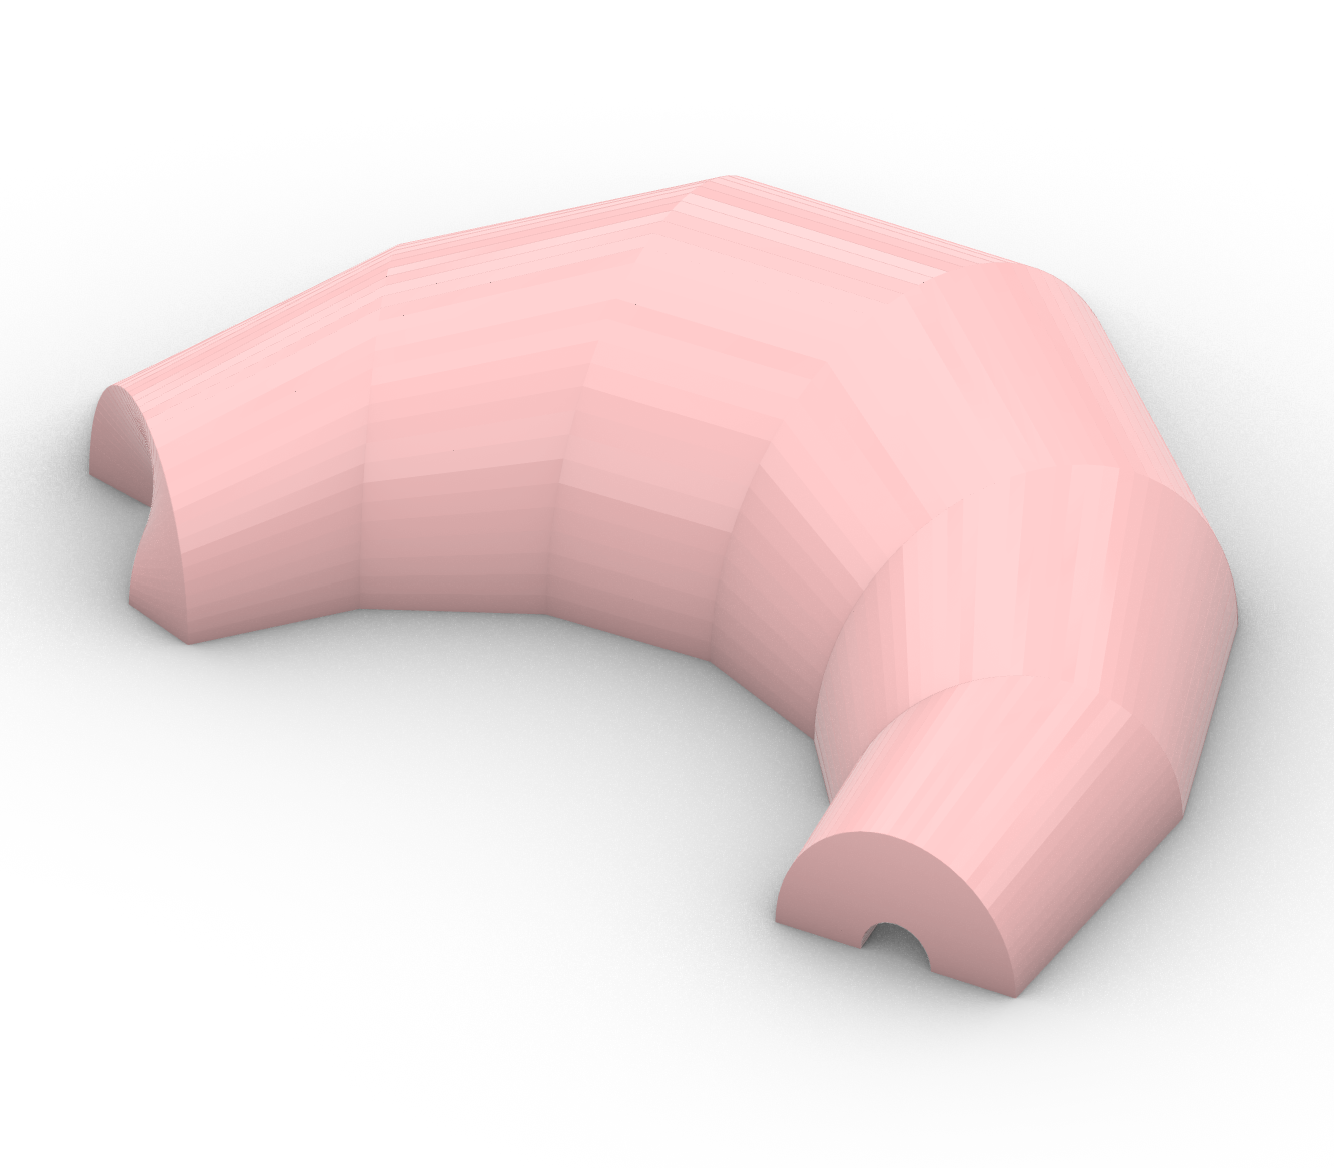
The only way to learn Grasshopper is to practice. Follow along with these three video tutorials. For each tutorial, take a screenshot for your exercise submission based on the requirements below.
You should save the Grasshopper files for your own future reference, but you are not required to submit the .gh files themselves.
Practice 1:
Practice 2:
Practice 3:
This tutorial sequence includes seven additional examples; all are suitable for beginner practice. You are encouraged to explore these further.
Requirements for the screenshots:
-
Visual Mode: Rhino should be set to Rendered mode as demonstrated in the tutorial.
-
Unique Results: You don’t need to set the same parameters as in the tutorial. You should adjust them and make your own version of the form. No two submissions should look the same!
-
Capture Methods: You can use your system's default method (Win + Shift + S for Windows and Shift + Cmd + 4 for Mac) or use the
-ViewCaptureToFilecommand in Rhino. -
Format: Don’t combine or edit the screenshots. Submit them separately. You will need to submit three images in total (one for each tutorial).
Submit Here: Exercise 1.1
Submission Deadline: 16 January, 11:59 pm. Assessment Value: 3 points.
Example Submission: